False Ceiling is a secondary ceiling that hangs below the main ceiling. False Ceiling features modern homes and commercial buildings. False Ceiling is quite an economical feature that is easy to install. Let’s see the installation process of False Ceiling…
Installation of False Ceiling
• Firstly all required measurements of ceiling (length and width) and ceiling to wall (for height of false ceiling) is taken for each room where false ceiling is to be installed.
• Material Requirement is calculated depending on size i.e. area of rooms where it needs to be installed.
• The ceiling levelling is done with water because most of the times the slabs are not levelled. The ceiling needs to be in one level for correct installation of false ceiling.
• After levelling procedure is complete, marking is done. Marking is done on ceiling at a distance of 4 feet each. Marking is also done in side walls at the height where the false ceiling will be suspended below the original ceiling.
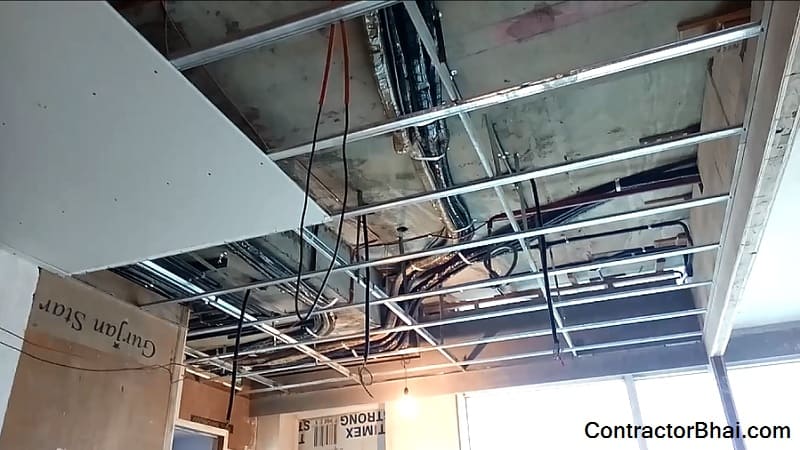
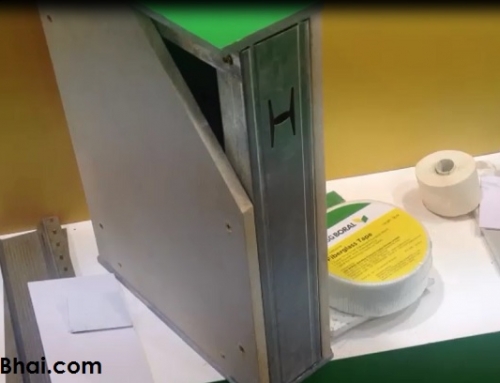
• Hooks are metal ceiling angle strip are fixed to the ceiling. These fittings become the chief support points of false ceiling.
Once the hooks are fitted, framing in done. For framing, perimeter channels are fitted on the walls at a height where false ceiling will be suspended. The perimeter channels and free end of hooks are connected with other channels. This arrangement becomes the fixed section of false ceiling that acts as the main foundation of false ceiling. To hang or support False ceiling from main ceiling, Anchor fasteners are used. Anchor fasteners provide great support to secondary ceiling. If false ceiling may tend to bend or fall if hung or supported on normal screws.
Ceiling sections are then fitted to the main foundation forming much précised framing that enables attaching plasterboard or any other material used for false ceiling.
The section joints created are connected using clips that offer strong and durable joints. These connecting clips also help for easy installations of plasterboard.
• Once the framing for is complete, wiring for lights, fan and other necessary electrical work is completed.
• Plasterboard of required thickness is then attached to the framework with help of drywall screws.
• The joints and edges are covered and finished using jointing compound and paper tape. This not only gives thr ceiing a clean finish but also strengthens the joints. The false ceilung is given a smooth finish with skiming plaster.
• Once the finishing process is over, electricians are called to install light fittings, do final wiring and other electrical work.
• The ceiling is now ready to be painted.
While False Ceiling work is going on a homeowner may come across few terms that he/she must not have heard of before like-
• Soffit– meaning finishing
• Fascia – meaning the front side of ceiling portion
• Grove – meaning the lining between 2 plasterboard sheets
• Level – meaning the levelling of ceiling
• Change Level – meaning changing the level of ceiling. In few false ceiling designs there are several layers created. Here it mean changing between these levels created.
Time taken to do False Ceiling
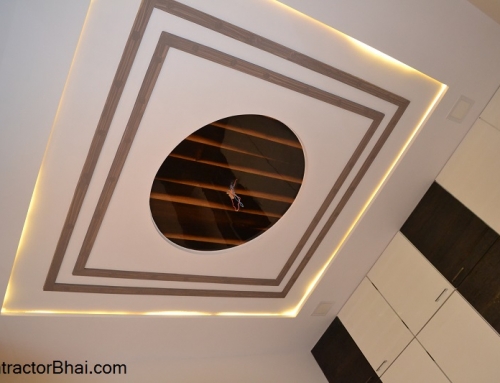
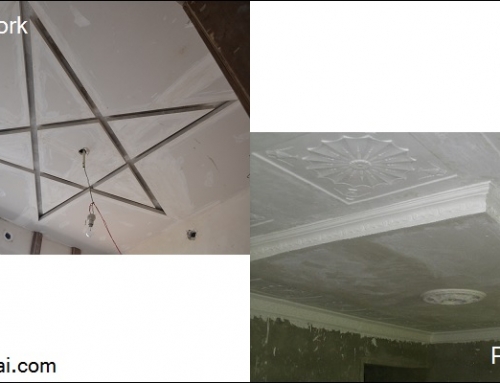
A basic rectangular false ceiling will take a week’s time to be ready. While to have a Curvature or any other design false ceiling will takes 10-12 days time.
Can anybody tell me ….which pipe should we for false ceiling wiring ?